How to Make a Macramé Plant Hanger in an Afternoon
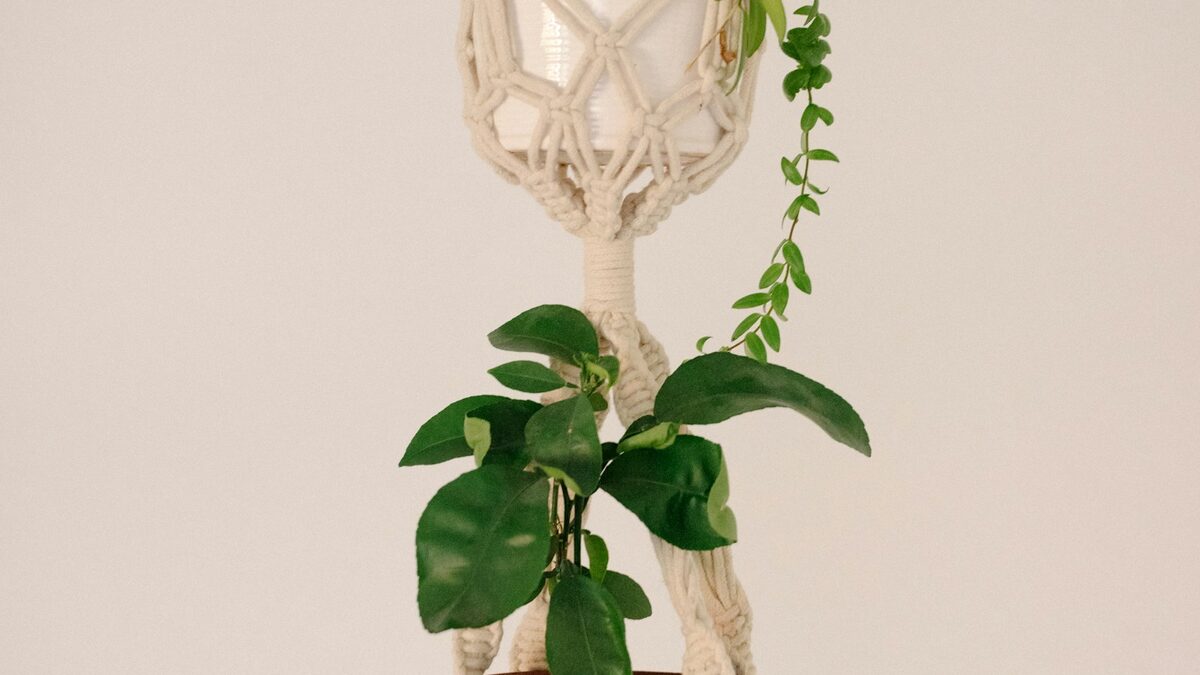
Macramé has a reputation for being harder than it is, mostly because finished pieces look dense and complicated from a distance. Up close, almost every macramé plant hanger you've ever seen is built from two knots, maybe three, repeated with slightly different spacing. This one uses a lark's head knot to start, square knots for the body, and a wrapped finish at the bottom — that's the whole list.
Materials
- 8mm cotton cord, 100% cotton, unwaxed — approx. 35 yards total
- 1 wooden or metal ring, 2 inches diameter, for hanging
- Scissors, sharp enough to cut cord cleanly without fraying
- Measuring tape
- Masking tape, to hold the ring steady on your work surface while you knot
- A pot, 6–8 inches diameter, to check sizing partway through
Cutting your cord
You need eight working cords. Cut four lengths of cord at 4 yards each — that sounds like a lot, but macramé eats length fast because every knot uses up far more cord than the finished size suggests. Fold each 4-yard length in half, which turns your four long pieces into eight working strands of 2 yards each once they're mounted on the ring.
Step-by-step instructions
- Tape the ring to your table or hang it from a hook at eye level. Fold one 4-yard cord in half to find its midpoint.
- Lay the folded midpoint behind the ring, then pull the two loose ends through the loop and down, over the front of the ring — this is a lark's head knot. Pull snug. Repeat with the remaining three cords, so you have four lark's head knots on the ring and eight working strands hanging down.
- Divide the eight strands into four groups of two. About 3 inches below the ring, tie a square knot using two adjacent groups together — take the two outer cords of a four-cord bundle, cross left over the middle two, under and through, then right over, under and through, to complete one square knot. Repeat around all four groups, so you have four separate square knots forming a ring beneath the lark's heads.
- Measure down another 3 inches. Take one strand from each of two neighboring knots and combine them with one strand from the next knot over, forming a new group of four cords from two different bundles. Tie a square knot here. Repeat around, alternating which cords you combine, so the pattern begins to look like a net — this is the row that will cradle the pot.
- Measure down another 3–4 inches and repeat the same alternating square knot row once more. Check your pot against the hanger at this point — the gaps should be snug enough that the pot's widest point can't slip through.
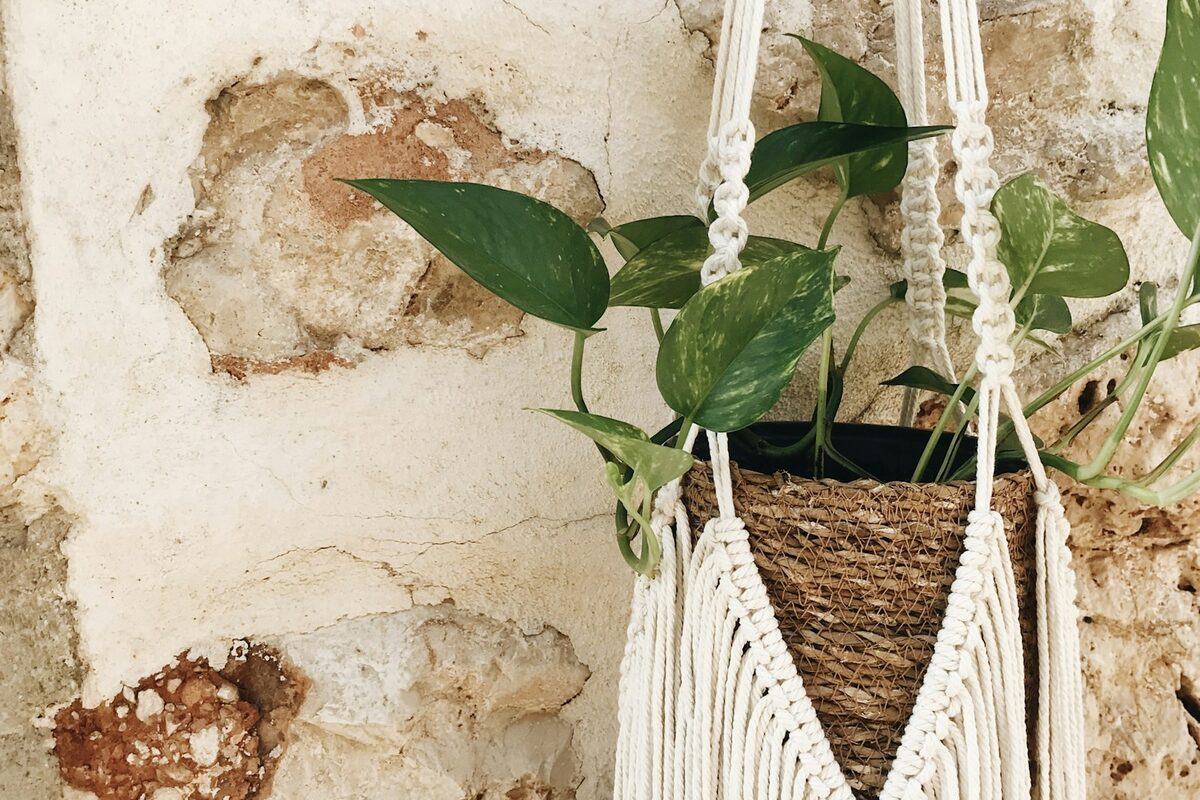
- Gather all eight strands together about 4 inches below the last row of knots. This is where the pot will actually sit. Wrap a separate 18-inch piece of cord around all eight strands six or seven times to form a tight collar, then tuck the tail through the wraps with a crochet hook or your fingers and trim close.
- Trim the hanging ends to your preferred length — anywhere from 2 inches for a tidy tassel to 8 inches for a looser fringed look — and fray the ends gently with your fingers or a fine comb if you want a textured tassel finish.
Sizing for different pots
The measurements above are built around a 6–8 inch pot. For a smaller pot, around 4–5 inches, shorten each gap between knot rows to about 2 inches and gather the base sooner. For a larger pot over 8 inches, you'll want longer, heavier cord — size up to 10mm cotton rope — and leave 4–5 inches between each knot row so the net has room to stretch around a wider base without the knots bunching awkwardly.
What to do if a knot comes out uneven
Square knots are forgiving to redo: if one looks lumpy compared to its neighbors, you can usually untie it by reversing the last cross and retying without disturbing the row above it, as long as you catch it before you've moved more than one row further down. Consistency in how tightly you pull each knot matters more than getting each individual knot perfect — an evenly-loose hanger looks intentional; a mix of tight and loose knots looks like a mistake even when no single knot is wrong.
Choosing your cord
Cotton cord is the easiest material to start with because it holds a knot without slipping and doesn't have the stretch of a synthetic rope, which would let your careful spacing sag out of shape within a week of holding a watered plant. Within cotton cord, "single twist" is softer and drapes more, which suits a hanger with a looser, fringier look; "3-strand twisted" holds its shape better and is easier to untie cleanly if you need to redo a knot, which is why it's the better choice while you're still learning. Avoid anything waxed or coated for your first project — it looks nice on the spool but resists the kind of firm, repeatable knotting this pattern depends on, and the slickness that makes it resist dirt also makes square knots slide loose over time under a pot's weight.
Hanging it safely
A finished hanger with a planted pot in it is heavier than it looks — a 7-inch ceramic pot with damp soil and a established plant can easily weigh 8 to 12 pounds, more once you've watered it. Hang from a ceiling hook rated for at least 20 pounds, screwed into a joist rather than drywall alone wherever possible, or use a drywall anchor explicitly rated for that weight if a joist isn't available where you want to hang it. Check the knot at the very top — the lark's head knots around the ring — every few months; cotton cord can loosen slightly under sustained weight, and a quick snug-up twice a year is cheaper than finding out the hard way that it's loosened past the point of holding.
Variations to try once this one feels easy
- Double-tier hanger: repeat the entire alternating square-knot sequence twice with a longer drop between tiers, holding two pots stacked at different heights on the same hanger.
- Spiral stitch sections: replace one row of square knots with a spiral knot (a square knot's first half only, repeated several times in a row without alternating) for a twisted rope-like section that reads as a deliberate design choice rather than a repeated texture.
- Beaded accents: thread a few large wooden beads onto individual cords before tying a knot row, so the bead sits visibly between two knots — an easy way to add color without dyeing any cord.
However you finish it, a hanger built from nothing more than lark's head and square knots will hold its shape for years as long as the cord stays dry and out of direct sun, which fades cotton faster than almost anything else in a room.