Chunky Ribbed Beanie: A Free Pattern
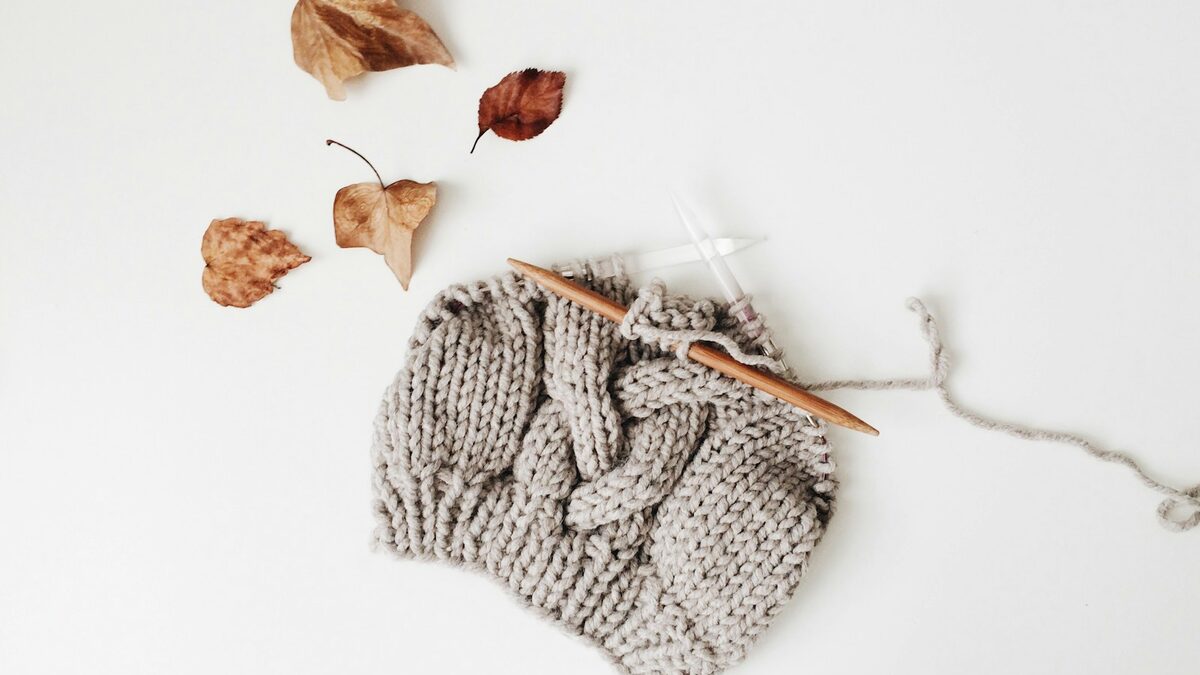
This is the beanie I make when someone asks me for "something easy that still looks like an actual hat." It's worked flat on straight needles rather than in the round, which sounds backwards for a hat but means you don't need to learn magic loop or double-pointed needles to make it — you knit a rectangle in 2x2 rib, seam up the back, and gather the top closed. It looks, once it's on someone's head, exactly like a hat knitted in the round. Nobody will know.
Pattern at a glance
- Skill level
- Easy
- Yarn weight
- Chunky (5)
- Needles
- US 10 (6mm), straight
- Gauge
- 14 sts / 20 rows = 4in in 2x2 rib, blocked
Materials
- 2 skeins We Are Knitters The Wool, chunky weight, 87 yds each (or any chunky-weight yarn, approx. 150 yds total)
- 1 pair US 10 (6mm) straight needles
- 1 stitch marker
- 1 tapestry needle, for seaming and weaving in ends
- Measuring tape
Abbreviations
- k
- knit
- p
- purl
- k2tog
- knit two together
- rep
- repeat
- st(s)
- stitch(es)
- RS
- right side
- WS
- wrong side
Before you start
Swatch first, even for a hat this simple. Chunky yarn hides tension problems less than you'd think, and a beanie that comes out two inches too big in circumference will slide over your eyebrows all winter. Cast on 20 stitches, work 2x2 rib for fifteen rows, and measure — you want 14 stitches to equal 4 inches, stretched only slightly, the way the rib will sit on a head rather than lying flat on a table.
Pattern instructions
- Cast on 58 sts.
- Row 1 (RS): *k2, p2; rep from * to end.
- Row 2 (WS): *p2, k2; rep from * to end.
- Rep Rows 1–2 until piece measures 9 inches from cast-on edge, ending on a WS row.
- Begin crown shaping. Row 1 (RS): *k2tog, p2; rep from * to end — 44 sts rem.
- Row 2 (WS): *p1, k2; rep from * to end.
- Row 3 (RS): *k2tog, p1; rep from * to end — 29 sts rem (last rep will be k2tog only).
- Row 4 (WS): purl all sts.
- Row 5 (RS): *k2tog; rep from * to last st, k1 — 15 sts rem.
- Cut yarn leaving a 12in tail. Thread tapestry needle and draw tail through remaining 15 sts. Pull tight to gather the crown closed and secure with a few stitches through the center.
- With RS facing, fold piece in half and seam the side edge from cast-on to bind-off using a mattress stitch or simple whip stitch. Weave in all ends.
- Turn up the cast-on edge 1.5–2 inches for a folded brim, or leave unfolded for a slouchier fit.
Sizing notes
As written, this fits an average adult head (21–22.5in circumference) with a slightly stretched rib. For a smaller head, cast on 50 sts instead of 58 and adjust the crown decreases proportionally — the shape holds up fine with 8 fewer stitches. For a bigger head or a deliberately slouchy fit, cast on 66 and add an extra inch before starting the crown shaping.
Yarn substitutions, and why this is worked flat
The Wool is lofty and a little rustic-looking, which suits a ribbed beanie, but Lion Brand Chenille Basic or Knit Picks Brava Bulky will both work at the same gauge if you want something softer against the forehead or need a machine-washable option for a kid's hat. Whatever you substitute, check that it knits to the 14-stitch-per-4-inch gauge above before committing — chunky yarns vary more in actual thickness than their label weight suggests.
You'll notice this pattern is worked flat on straight needles and seamed, rather than in the round the way most published beanie patterns are. That's deliberate: the single biggest barrier I see with new knitters trying their first hat isn't the ribbing or the crown shaping, it's the leap to a 16-inch circular and double-pointed needles for the crown decreases — two new tools and a new way of holding your work, introduced in the same project. Working flat removes that barrier. The only new skill this version actually teaches is a mattress-stitch seam, which you'll reuse on nearly every seamed project you make afterward. Once this feels easy, moving to an in-the-round version is mostly just relocating stitches you already know how to work onto a different needle shape.
Common mistakes and how to fix them
- The seam puckers. This is almost always tension in the seaming yarn, not the knitting itself — pull your seaming stitches just tight enough to close the gap, not tight enough to gather the fabric. If it's already seamed and puckered, you can usually unpick a few inches and reseam more loosely without touching the knitting at all.
- The crown doesn't gather flat. If the top looks lumpy rather than drawing into a neat point, check that you pulled the tail through all remaining stitches in the same direction (all through the front of the loops, or all through the back) rather than mixing the two, which leaves some stitches twisted against their neighbors at the very top.
- The brim won't lie flat when folded. 2x2 rib is naturally elastic and should fold cleanly; if it's curling instead, it usually means the piece was blocked while still damp rather than fully dry, or wasn't blocked at all. A light steam block before folding the brim fixes this almost every time.
Care and gifting notes
If you used a wool-blend yarn, hand wash in cool water with a wool-safe detergent and lay flat to dry — chunky ribbed fabric holds a lot of water and will stretch out of shape if you hang it while wet. If you substituted an acrylic or acrylic-blend yarn for machine washability, a cold gentle cycle in a mesh bag is fine, but still lay it flat to dry rather than using a dryer; heat is harder on chunky-gauge stitches than cold water is, and a dryer is the single fastest way to felt a wool-blend hat into something a head won't fit into anymore.
This pattern is also forgiving enough to size by eye for someone else as a gift — measure a hat you know fits them, or borrow their favorite beanie for five minutes to check the circumference, rather than asking them their head size directly and ruining the surprise. Because it knits up in an evening or two once you've got the rib memorized, it's one of the few handmade gifts you can realistically start and finish within a week of someone mentioning they need a new winter hat.
Want this one in your pattern binder?
Download the printable PDF — schematic, full written pattern, and gauge notes on one page.